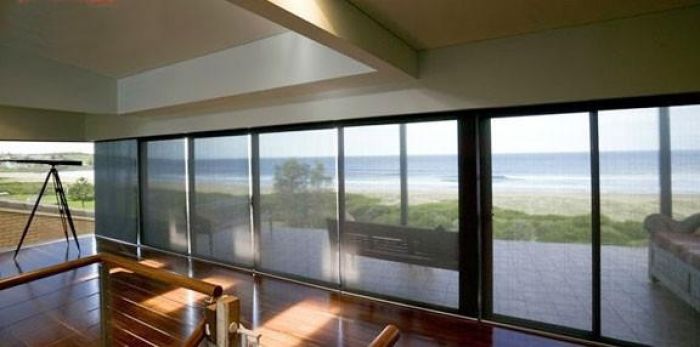
Want to keep your home cool without loosing sunlight? Then the easiest option will be to install a sun shade from the best manufacturer in your city. Besides providing shade to your room from sun as well as protecting it from rain, solar shade also helps to enhance its attractiveness. The heat of your room is reflected by the light color of the retractable shade. It keeps the warmth outside but allows the light to come inside your room. Moreover with the help of solar shade, your electricity bill is reduced. The furnishings of your home also remain protected from getting faded. Your home gets an exclusive look with the sun shade that offers an excellent visibility from outside. Again you can also enhance your daytime privacy through its installation.
Various shapes and sizes are available in the market for these shades though the most common types are square, triangular, etc. Shades are usually made from plain canvas but still you can customize them according to your own preference by making use of your own colors and patterns to match your own style of decoration.
Let’s check out a few instructions for installing sun shades at your home.
Instructions for installation
- Measure covering area for deciding shape
First of all you have to measure your covering area and then decide the shape of the shade. The shape of the sunshade can be chosen by your own preference and also by means of existing supports for holding the shade. Always remember that large sail sunshade requires a support in the middle.
- Cut fabric for making hem
Then you have to cut short the fabric of the shade to about 6 inches on each side for covering the shade. You have to fold the fabric under one-fourth inch all along one side. After that you have to enfold it once more for making the hem. You have to sew a seam by the side of the inner edge of the folded material and then carry out the same process on all sides. Moreover you should also ensure the fact that all hems are on the same of side of the fabric.
- Fix grommets for creating reinforced hole
Next you are required to fix grommets to the corner of sun shade for creating reinforced hole. Now if you can’t find a grommet tool, you can place one side of every grommet on each side of fabric and then tap them together with mallet. After that you have to cut the fabric in the center of the hole.
- Drill holes for attaching sunshades
You are also required to drill holes where the sunshade will be attached. You can attach two sides to your home or even to an outdoor building. The other sides can be hang up either from existing poles, or else, you can also make use of hole digger for the purpose of digging holes. After digging the holes, you have to fill them with cement and then place posts in it. You should also allow the cement to cure before fixing anything to posts.
- Screw eye bolts for attaching cords
Then you have to screw eye bolts in holes, place one end of bungee cord through grommet on the shade and the other end through eye bolt. Finally you have to finish the process of installation of sunshades by fixing other bungee cords to the shade and fastening them through eye bolts.
Follow these simple steps and install sun shades aptly for your home.
Daniel Smith is a writer and a home improvement analyst. In his recent articles he shares some valuable insights on the usage of various parts of retractable screen porch. You may visit Solaris Canada in case you need to know more about awnings for your home.
If you like reading this article and you want to subscribe his next posts, follow his on Google+.


