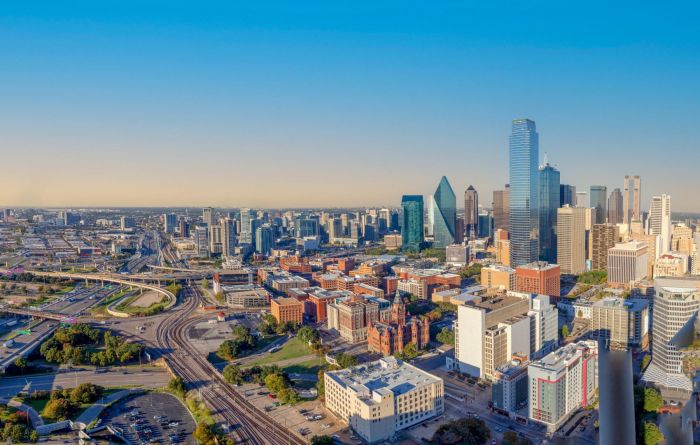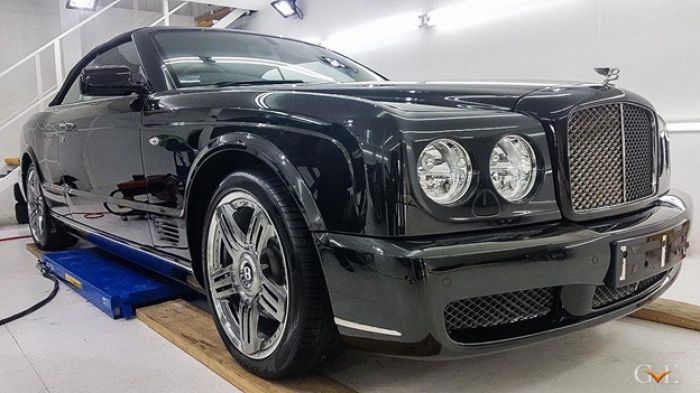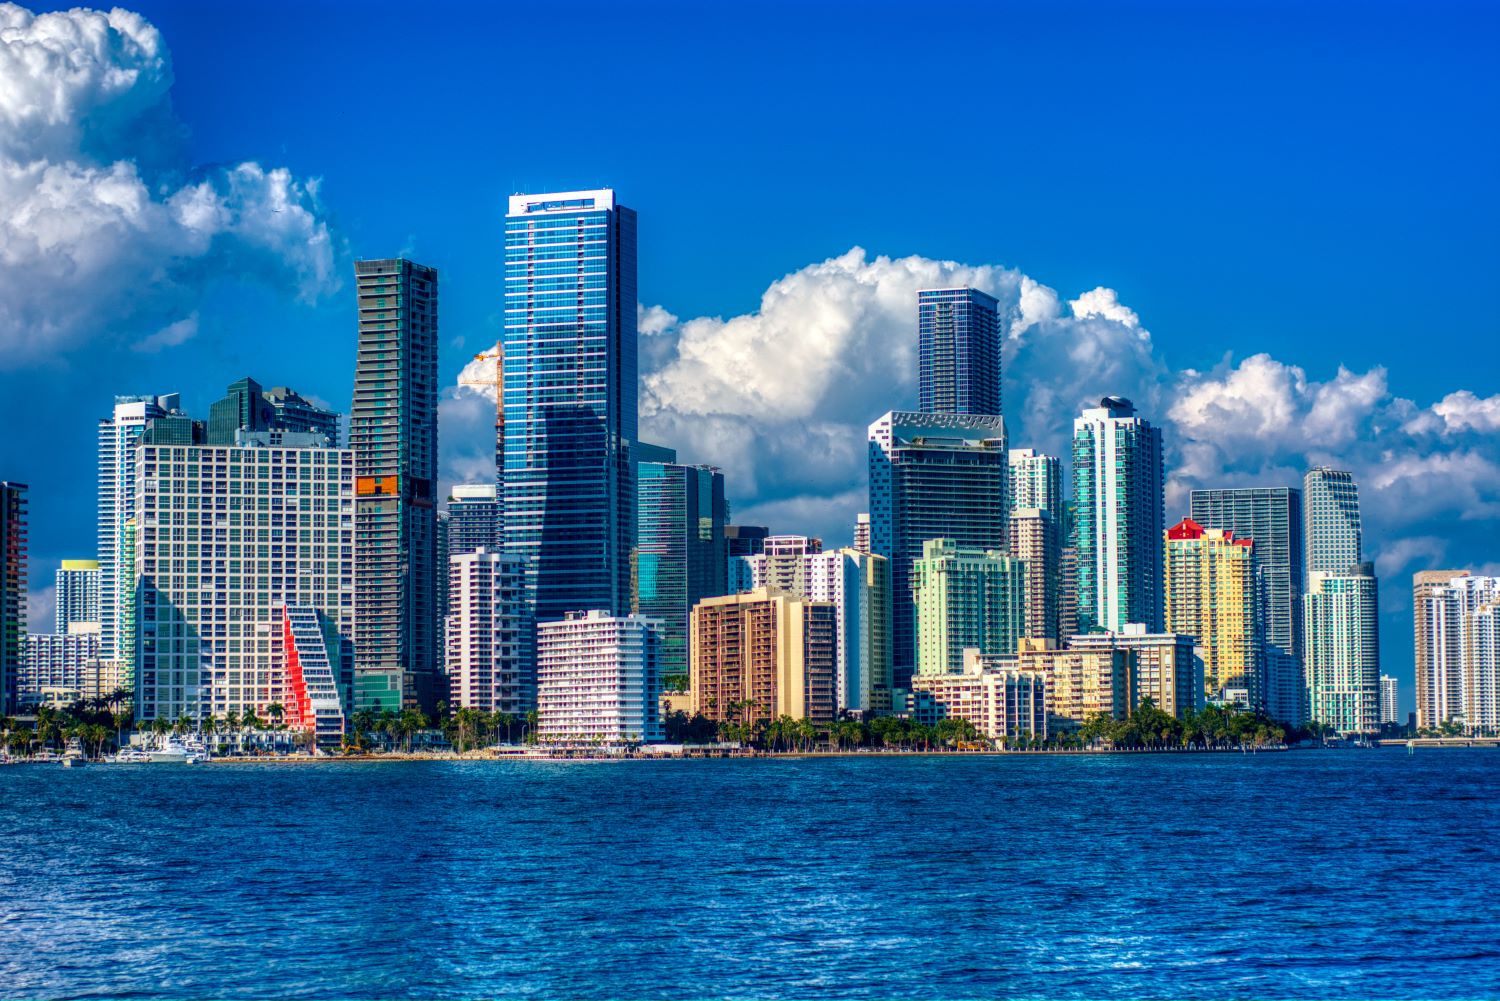
Urban-style photography captures the city’s spirit, delving into its heart. With this diverse and dynamic style, you can turn everyday scenes into extraordinary moments. Showcase the vibrant pulse of the urban environment through the lens.
This guide explores composition, light, and style to create truly captivating images. We will delve into practical tips to enhance your skills. Whether you are a seasoned photographer or just starting, understanding the principles of urban photography will allow you to capture the true essence of city life.
The Art of Composition for Urban Photoshoots

The Rule of Thirds
Imagine your frame divided into nine segments by two horizontal and two vertical lines. Putting your subject at the intersections of these lines creates a balanced and engaging composition. In urban life photography, this technique helps draw the viewer’s eye to the most important elements, like people, buildings, street art, etc.
Leading Lines
Streets, bridges, railings, and shadows can all act as leading lines, guiding the viewer's gaze through the photograph. The urban environment is full of natural and artificial lines. Working with them will add depth and dimension to your shots.
Framing and Perspective
Doorways, windows, and arches can all serve as natural frames, adding context and improving the general aesthetics. Create a focused and impactful image.
Shooting from a low angle can make buildings appear more imposing, while a high vantage point can offer a broader view of the urban landscape. Experiment with angles for unique compositions showcasing the city’s soul.
Reflections and Shadows
If you seek unusual and creative urban photoshoot ideas, consider experimenting with reflective surfaces. Puddles, windows, and metallic surfaces can all reflect parts of the city, creating intriguing compositions. Similarly, shadows cast by buildings and other structures can add a dramatic flair to your photos. They work perfectly for multilayered, dynamic, and complex pictures.
The Role of Light in Captivating Shots
Embrace the natural light as your helper in urban photography. During the golden hours (early mornings and late afternoons), the cityscape is bathed in a golden glow. On the other hand, the blue hour, just after sunset or before sunrise, offers a cooler, more subdued light. Bring out the details and vibrancy of the city life.
Arrive early to scout the location and determine the best angles and compositions. Use a tripod to ensure stability. Apply longer exposures to capture the full range of light.
Urban areas are abundant in man-made light fixtures, ranging from streetlights to neon signs. These lights can bring a thrilling element to your urban photos, particularly during nighttime. Experiment with various sources of light to observe how they interact with the subject. Neon signs can give your images vibrant colors, as streetlights can create striking shadows. Use a slower shutter speed to capture light trails from moving vehicles. It will add motion and energy to your shots.
Post-Processing Tips for Urban Photography

1. Selecting the Software
Choosing a proper post-processing software is crucial for urban photography. The modern software market provides programs for different goals, budgets, and proficiency levels.
- Luminar Neo is known for its powerful AI-driven tools that simplify complex tasks. It is a perfect option for newbies.
- Affinity Photo provides a comprehensive suite of editing tools at a one-time purchase cost. This program offers high performance and versatility without recurring fees.
- Lightroom is popular among professional photographers because of its customizable presets. The presets Lightroom offers are pre-configured settings that save you time while ensuring professional results.
- If you are looking for cost-effective options, consider using a Lightroom free alternative. Software such as Darktable, RawTherapee, and GIMP include basic adjustments, color correction, and advanced retouching features without the subscription cost.
2. Basic Adjustments
Adjust the exposure to ensure your image is neither too dark nor too bright. Increase the contrast to add depth and dimension. Correct the white balance; ensure the colors are showcased naturally.

3. Colors, Contrast, and Sharpening
Use the Hue, Saturation, and Luminance sliders. They help fine-tune individual colors in your photo. Increasing the saturation can make colors pop, and adjusting the luminance can add depth.
Increase the sharpness to bring out architectural features and unusual textures. The adjustments should be slight to prevent digital noise. The clarity slider can also enhance mid-tone contrast for depth and definition in your images.
4. Retouching and Removing Distractions
Use retouching tools to remove unwanted distractions that distract from your main subject. Distractions could include litter on the streets, distracting signs, or people in the background. Your software’s spot removal tool should be applied for this task. Clean up your image without leaving noticeable traces.
5. Final Adjustments
Check your edited photos and make any final adjustments that may be needed. Ensure the visual appearance is consistent and the pictures accurately represent the original concept. Save your file in your chosen format. You can also export your pictures online if you want to.
Conclusion
By mastering composition, understanding the role of light, and developing your personal style, you can transform everyday urban scenes into captivating visual stories. Embrace the challenge of capturing these dynamic environments, experiment with different urban photoshoot ideas, and, most importantly, have fun exploring the urban landscape through your lens.


