
Developing engaging material is strongly influenced by impeccable video editing. By combining short clips, you can enhance storytelling and strengthen branding. This method allows you to convey messages more effectively, capturing your audience's attention. CapCut, the easy-to-use video editing software, works as a beginner-friendly editor to streamline this process.
It offers a user-friendly interface and a range of features, making it suitable for both beginners and experienced editors. With tools for trimming, merging, and adding effects, CapCut helps you craft polished videos effortlessly. To get started, download CapCut from its official website and unlock your creative potential. Dive into the world of video editing and read the complete blog for more insights!
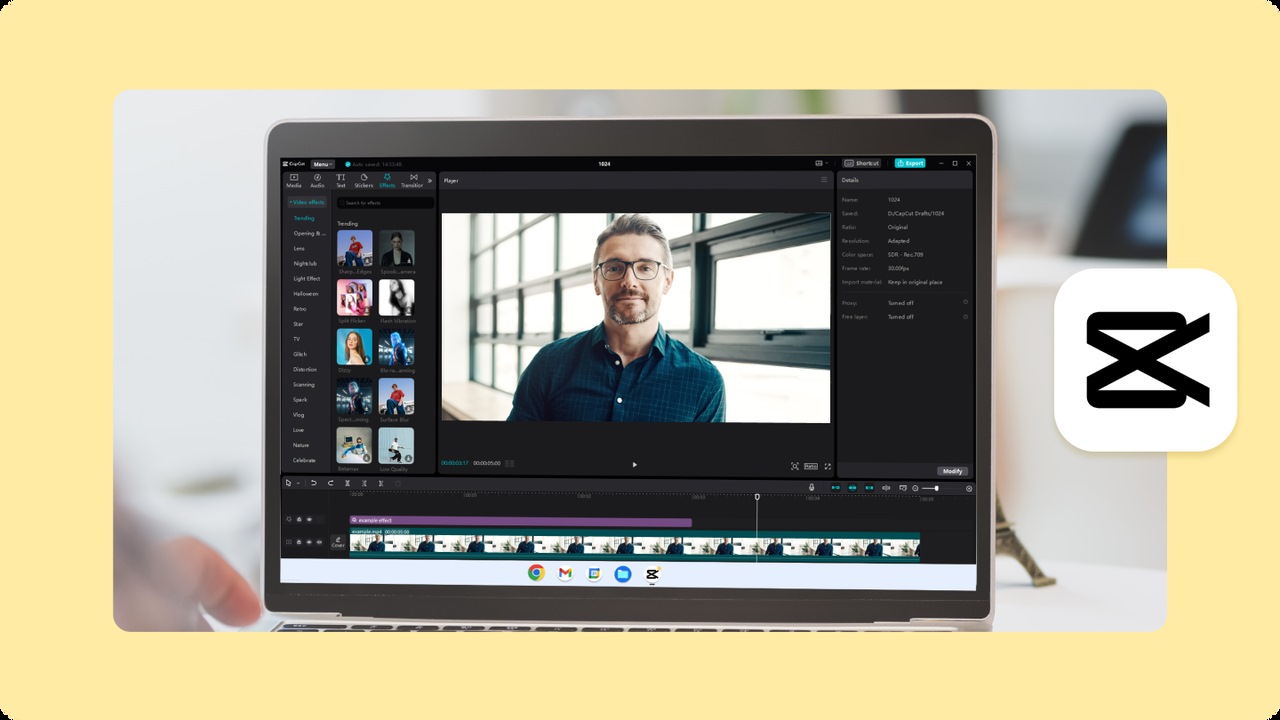
Why Use CapCut Desktop Video Editor for Merging Videos
Merging videos is essential for keeping viewers engaged. Smooth transitions help maintain interest and make the content feel cohesive. CapCut Desktop Video Editor offers key tools that simplify this process:
- Trimming: Easily cut unwanted parts from your clips.
- Transitions: Incorporate smooth transitions between clips to achieve a refined appearance.
Video Background Remover: This feature helps eliminate distractions, allowing the focus to stay on the subject.
While basic features are free, advanced options like special effects and premium transitions require payment. This balance allows users to start editing without upfront costs while offering upgrades for more creative projects.
Steps to Combine Multiple Clips into a Smooth Video
1. Importing Your Video Clips
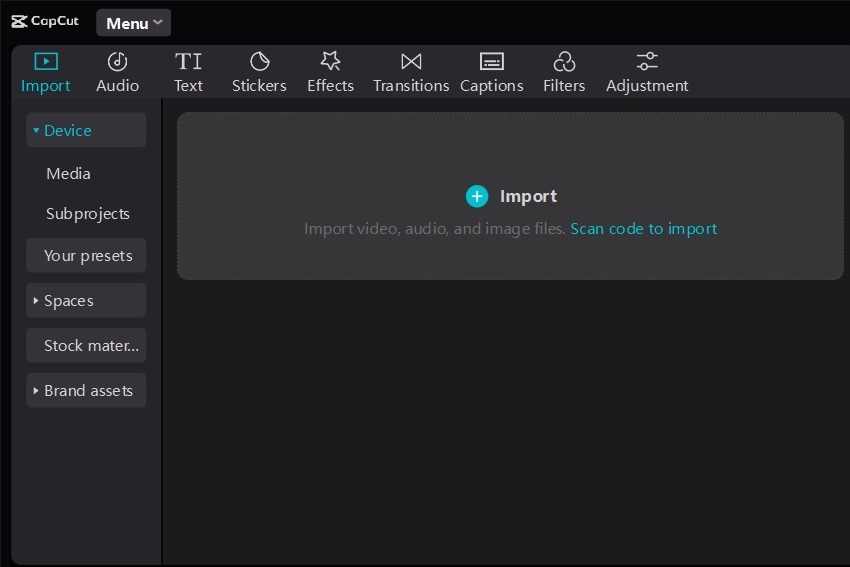
To start with CapCut Desktop Video Editor, download it from the official site and install it on your computer. Once installed, open the software.
Tap the Import button on the dashboard to bring in multiple video clips. This action opens a file browser. Select all the clips you want to use by holding down the Ctrl key (or Command on Mac) while clicking each file. After selecting, click Open to add them to your project.
For efficient editing, organize your clips into folders by type, such as A-roll, B-roll, and music. This way, you can easily find your needs without wasting time searching. Keeping everything tidy will help you focus on your creative work with this video editing software.
2. Arranging and Trimming Clips
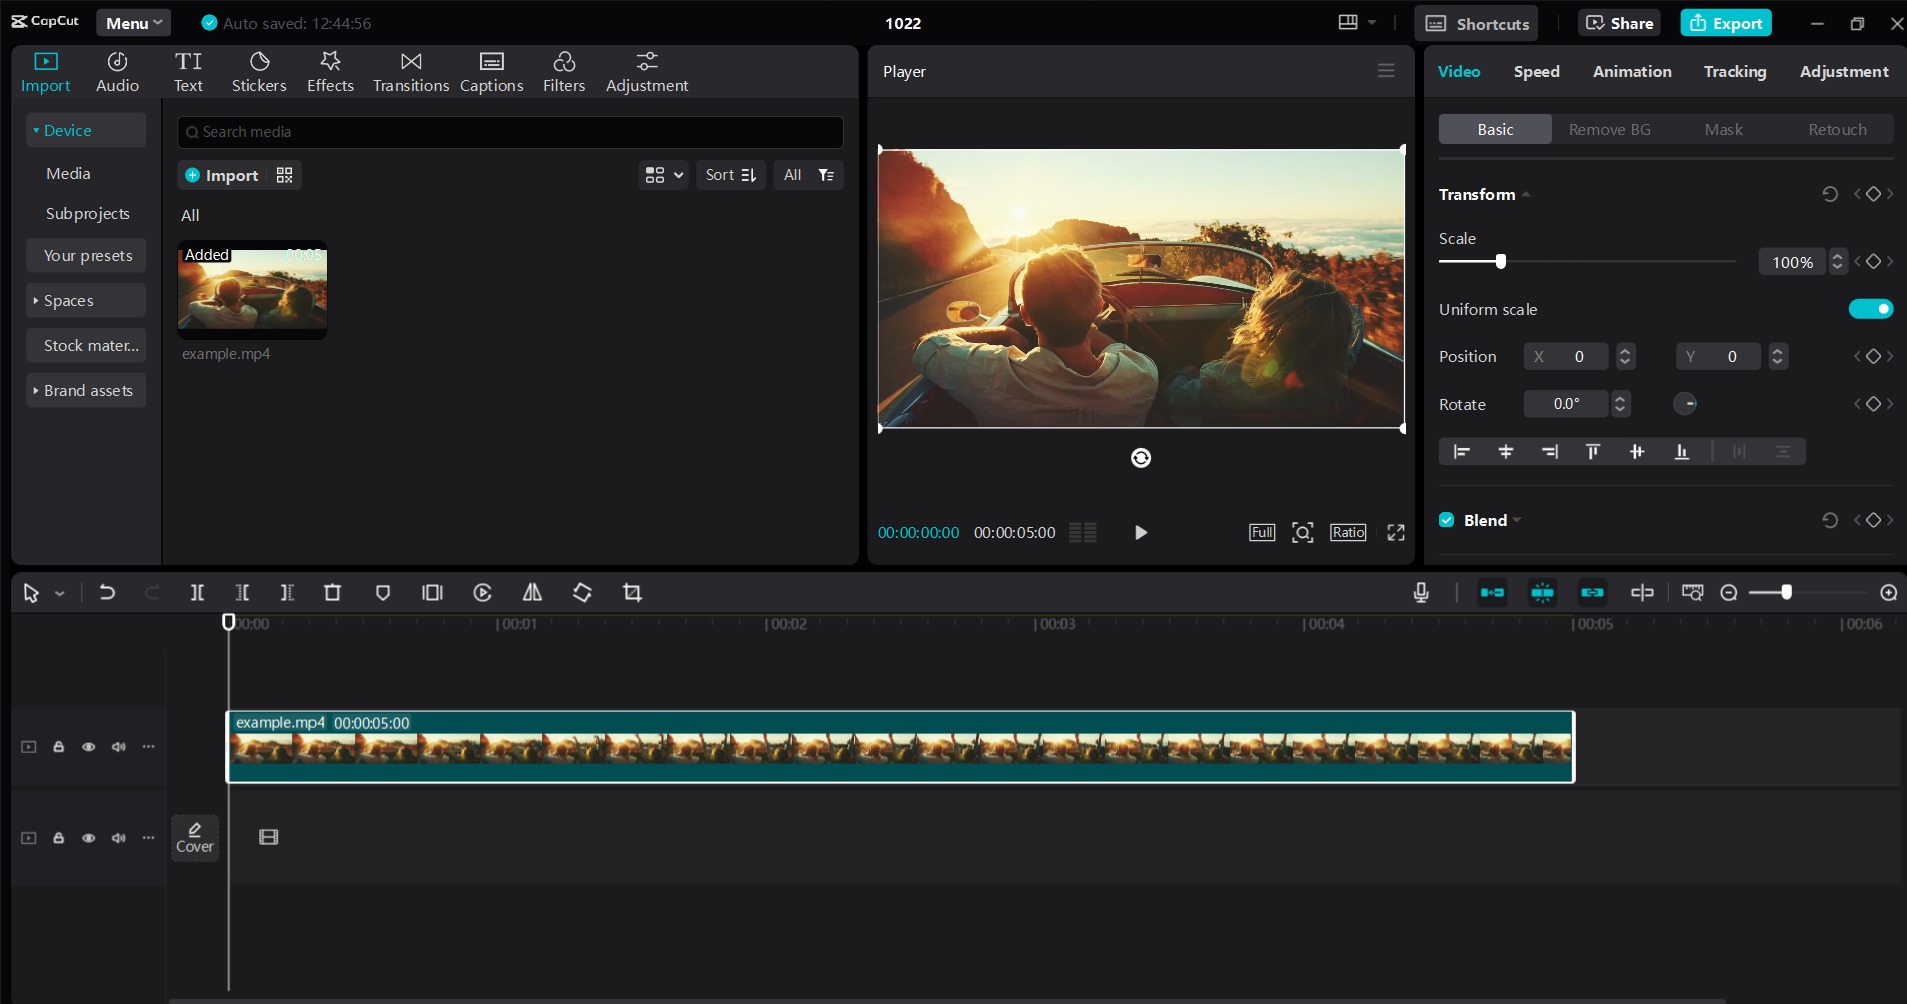
To arrange clips in CapCut, follow these steps:
- Add Clips: Drag and drop your clips onto the timeline. You can also click the plus sign to add them directly.
- Reorder Clips: Click and hold a clip to move it. Reposition it to the location you need on the timeline.
- Trim Clips: Select a clip, then use the trim tool to cut out parts you don’t need. This helps keep your video focused.
Trimming clips are essential for smooth transitions. It removes awkward pauses and unnecessary content, making your video flow better. Keeping only the best parts creates a more engaging story that holds viewers’ attention.
3. Adding Transitions and Effects
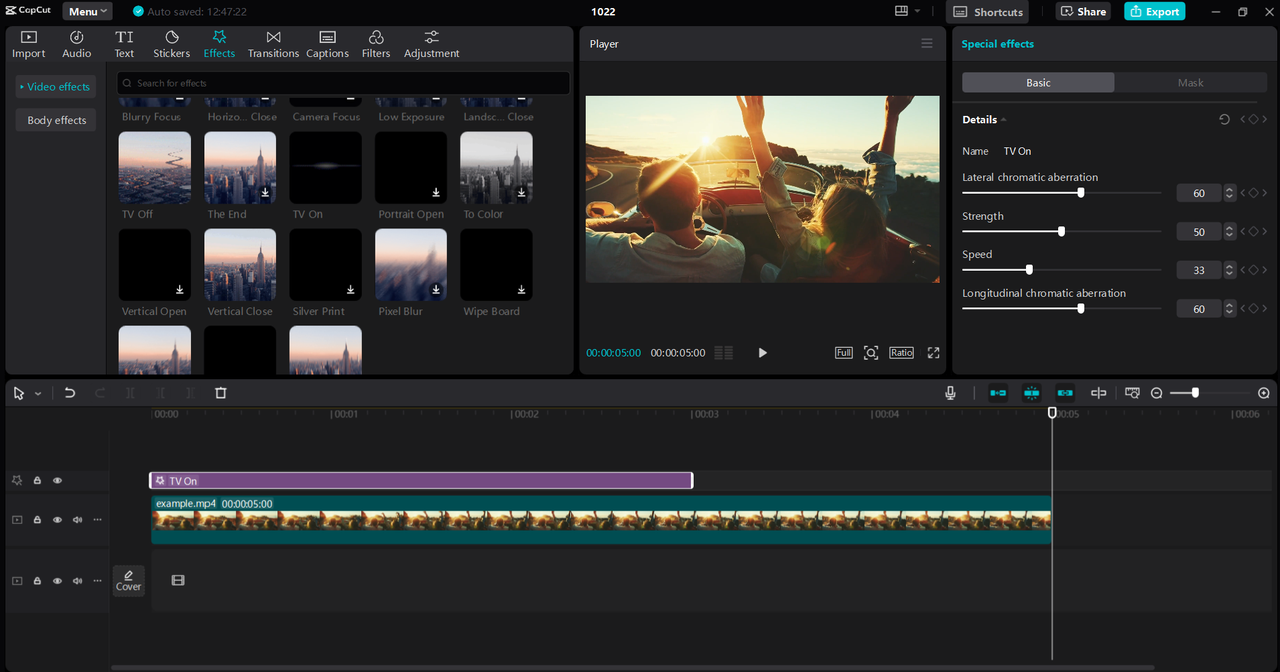
To add transitions and effects for smoother clip blending, follow these steps:
- Select the right transitions: Choose transitions that match your video style. Some advanced options may require a paid version of CapCut Desktop Video Editor.
- Apply effects: Introduce visual effects to make the design more engaging. Simple fades or wipes can create a seamless flow between clips.
- Utilize the video background remover: This feature can enhance specific scenes by removing unwanted backgrounds, making your footage look clean and professional. You can replace the background with a new image or color to suit your theme.
These tools help create engaging videos that capture attention. Experiment with different transitions and effects to find what works best for your project. Remember, a polished video can significantly impact viewer engagement.
4. Enhancing with Audio and Captions
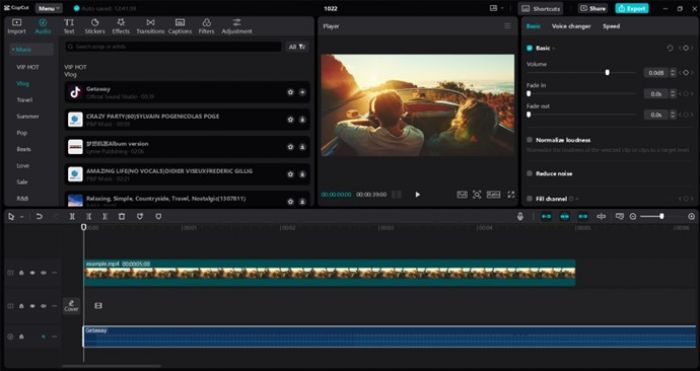
To place background music in CapCut, start by opening the project file. Navigate to the Audio tab and pick the Sounds category. Browse through the available music and choose one that fits your video. Select the plus button to incorporate it into your timeline. Tweak the sound to ensure it blends with your video without overwhelming it.
Using auto-captions makes your videos accessible and professional. To add captions, click on the Text option and select Auto Captions. This feature generates text from your audio, making it easy to sync with your video.
For smooth transitions, align your captions with audio cues. Trim or split audio tracks as needed to match the timing of your captions. This creates a polished look and enhances viewer engagement, making your videos more enjoyable.
5. Exporting and Sharing the Final Video
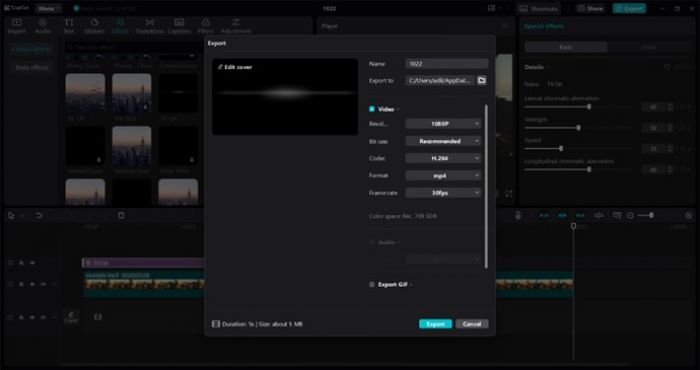
To export your final video in CapCut, first finish your edits. Locate and tap the Export option in the top-right corner. You can choose the video format, like MP4 or MOV, and set the resolution to 4K. Adjust the frame rate between 24fps and 60fps for the best quality.
After setting your preferences, click Export again to save the video to your computer. This video editing software supports multiple formats, making it easy to share your work on platforms like TikTok and YouTube. Enjoy sharing your creation with friends and followers!
Combining short clips into one smooth video is easy with CapCut Desktop Video Editor. Its user-friendly interface allows anyone to create professional-quality edits without hassle. You can enhance your videos with auto-captions, making them accessible and engaging. The video background remover feature isolates subjects effortlessly, adding a polished touch to your projects.
For those seeking more advanced tools, consider upgrading to unlock premium features that elevate your editing experience. CapCut makes video creation enjoyable and efficient, encouraging you to explore its many capabilities. Dive in and see how simple it is to craft stunning videos!


