


Selling a home quickly and at a good price depends on making a positive first impression on potential new owners or renters Nowadays, a good first impression is usually made through visuals. When potential clients scroll through listings, striking, well-composed photos grab their attention and spark interest. That is why understanding how to take good real estate photos is paramount to succeed in this business.
This article gives the best tips for real estate photography to showcase houses and apartments in the best light, represent their best features, and transform your property listings into magnets for future clients.
10 Tips for Consistently Great Real Estate Photography
1. Preparation
Declutter the apartment. Stage every room to highlight its best features. Arrange furniture to create an inviting open space. Remove personal items. There should be room for imagination, literally. Let potential buyers imagine their lives in these walls.
2. Gear Selection
Invest in a professional-grade camera and lenses. High-end gear is paramount for this type of photos. Use a mirrorless or DSLR camera with a wide-angle lens. Try to capture more of the room in each shot. Wide-angled real estate photography examples are characterized by a better sense of the space’s layout and dimensions. With this approach, the viewers’ impressions of the property will be as close to reality as possible.
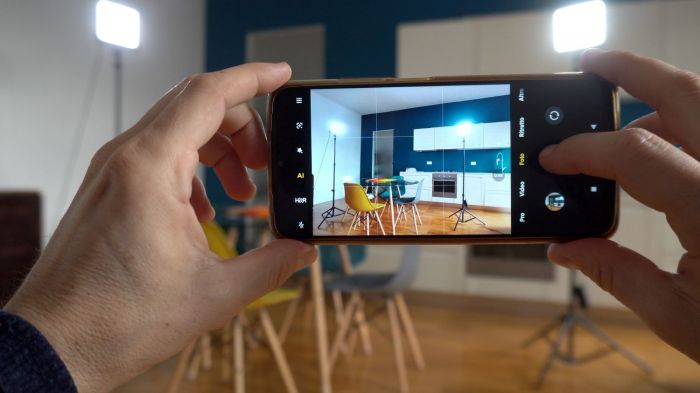
3. Working with Light
Natural light is prioritized for property photos. We aim to maintain realism and present it most appealingly. Plan your shoot carefully to catch the soft and warm light of golden hours. You can use artificial lighting equipment, such as softboxes or diffusers. They will help you achieve a well-lit and balanced picture. But remember that artificial lighting is additional here, and it should not distort an original image.
4. Angles and Perspectives
The perspective from which a photo is taken defines how it is perceived. The goal of real estate photography is to create an impression, so this aspect is paramount. Experiment with perspectives to highlight every room’s layout and features. Low-angle shots will make ceilings look higher. For a kitchen, try shooting from a corner at counter height to capture both the countertops and the overall layout. It creates a sense of space and highlights functionality. A photo from the doorway can provide a sense of flow and how the space connects to adjacent rooms.
5. Post-Processing
Editing can transform a good picture into a great one. Consider investing in photo editing software. For instance, apps like Canva can brighten the image, enhance the color of the countertops, and straighten any crooked lines. Additionally, they include a set of filters and effects to make your pictures look polished and professional.
Regarding advanced enhancements, Aurora HDR is particularly useful for interior shots. It will let you capture both the details inside the room and the view through the windows. For instance, if you have a photo of a living room with a beautiful garden view, this software can help you balance the light levels so both the interior and the garden are clearly visible and well-lit.
6. Consistency
A property listing should look cohesive and professional. That is why you must maintain consistency across the shots. Ensure all your photos have a similar brightness, color balance, and composition style. For instance, if you shoot multiple rooms in a house, keep the camera settings consistent and edit all photos with the same adjustments. This approach creates a uniform look, making the listing more visually appealing.
7. Professional Help
If you do not have much experience in real estate photography, consider consulting with fellow photographers who specialize in this field. You can ask for advice online or offline to familiarize yourself with the nuances of lighting, composition, and editing to create stunning images.
8. Virtual Tours
Incorporate 3D tours and videos to provide a comprehensive view. It is an opportunity to explore the property remotely. Use a 3D camera or a service like Matterport for a virtual apartment tour. It can be useful to attract buyers from different regions, for whom it may be problematic to visit the property in person.
9. Details
Highlight your property’s specific details. Make an apartment stand out. Emphasize its value. Capturing unique features: a fireplace, custom cabinetry, or a beautiful view from the bedroom window. Take a close-up shot of a modern, stylish fireplace or a panoramic view from a balcony.
10. Seasonal Adjustments
Seasonal adjustments can improve the appeal of a property by presenting it in the best possible light for the current time of year, making it relatable and inviting for potential new owners. In winter, ensure outdoor photos are taken on a clear day to avoid gloomy, overcast skies. In summer, capture the garden or patio to showcase the property’s outdoor living potential. Add seasonal decor or lighting, such as fresh flowers in spring or festive decorations in the winter.
Conclusion
The difference between good and bad real estate photos can significantly affect the sale of a property. Investing time and resources into capturing high-quality images can boost sales and increase offers. By following our tips, you can ensure your listings stand out in a competitive market. Embrace the power of photography and make every shot count.


